
DagShell Custom Firmware for Orbic RCL400: 2026 Guide
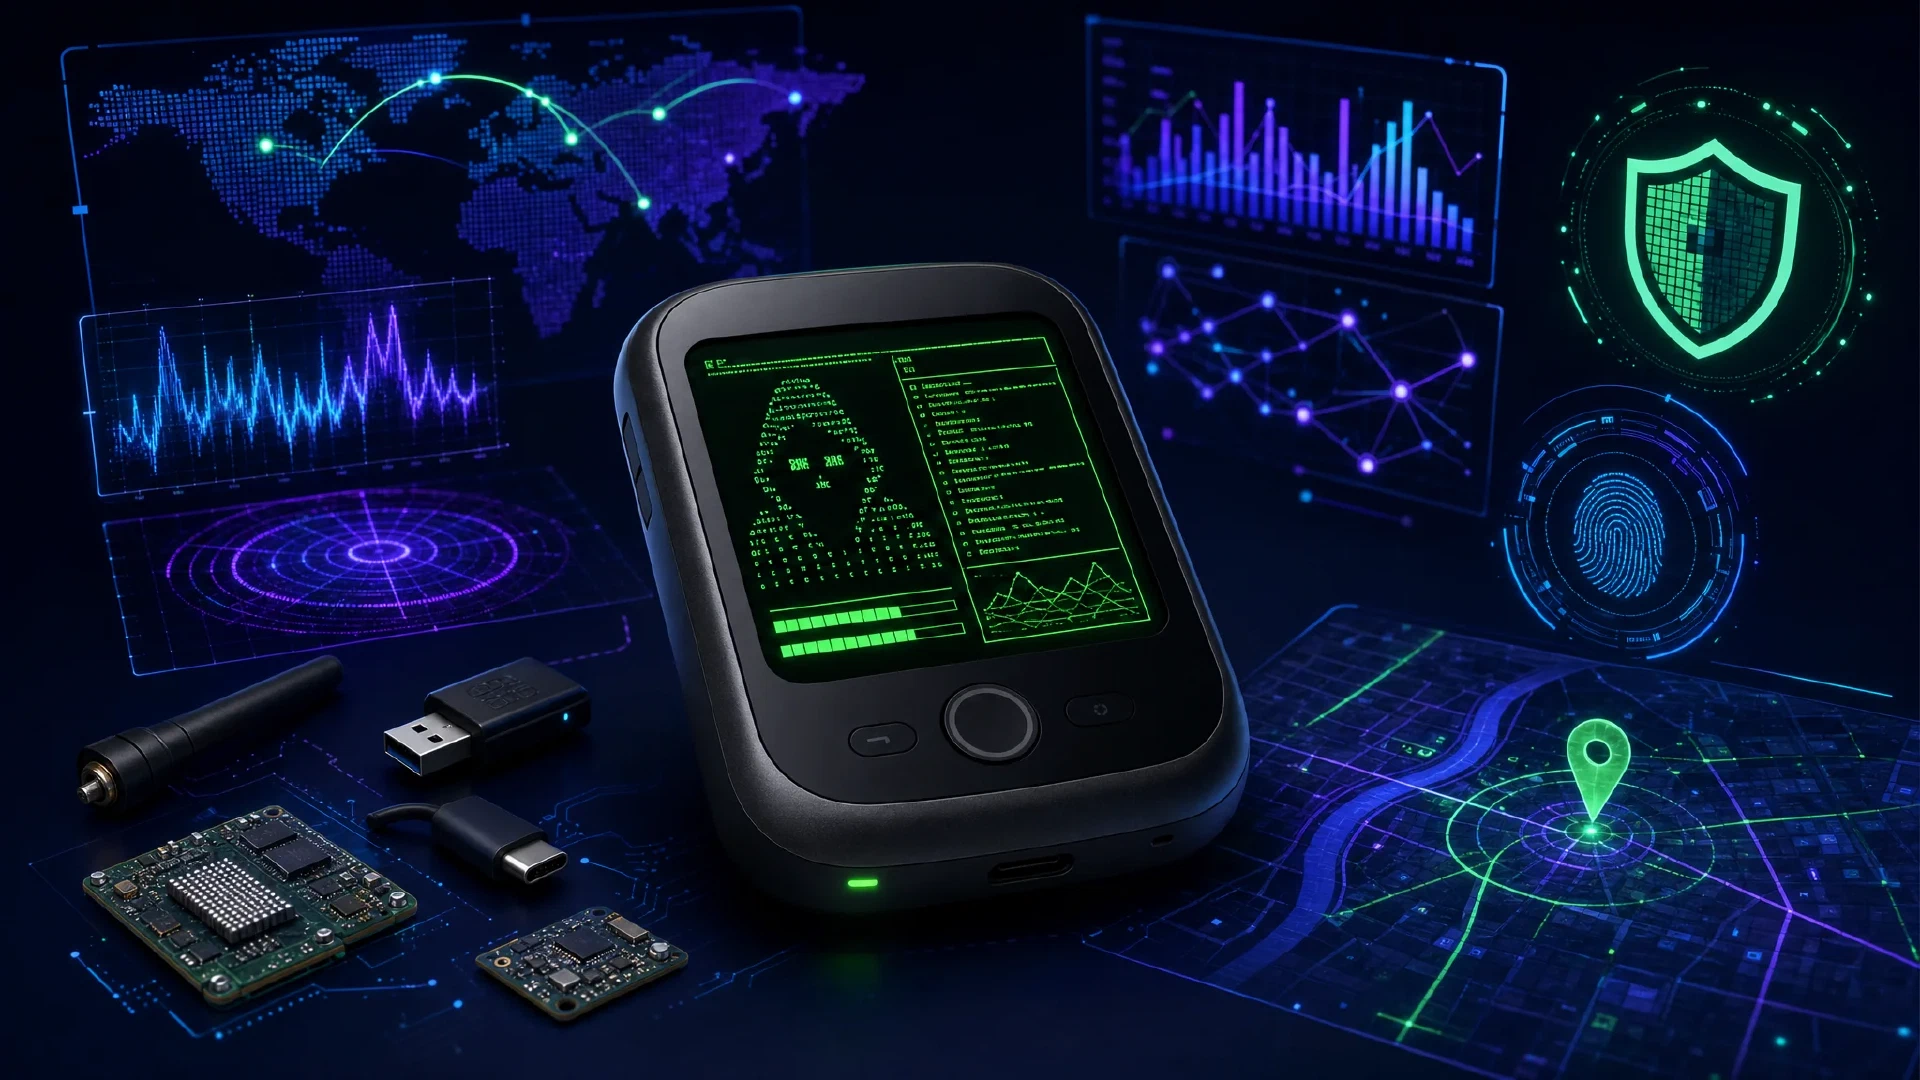
Table of Contents
Transform Your Orbic RCL400 Into a Mobile Security Research Laboratory
Introduction: A Hacker’s Hotspot
DagShell is open-source custom firmware for the Orbic RCL400 mobile hotspot that transforms an ordinary cellular device into a portable security research and privacy toolkit. Created by security researcher “dag,” this terminal-styled firmware provides hacking tools, privacy features, and network monitoring capabilities in a sleek, green-on-black hacker aesthetic interface.
This comprehensive guide covers:
- What DagShell is and its complete feature set
- Step-by-step installation instructions (webflasher and manual methods)
- All tools and capabilities explained in detail
- Raspberry Pi companion setup for extended functionality
- Why pair DagShell with RayHunter for ultimate mobile security
- Real-world use cases for security researchers and privacy advocates
- Legal and ethical considerations
TL;DR: DagShell + RayHunter on Orbic RCL400 = Complete mobile security laboratory for IMSI catcher detection, wardriving, network analysis, and privacy protection.
Pre-Flashed Devices Available: This article is sponsored by STS Collective, offering pre-flashed Orbic RCL400 hotspots with both RayHunter and DagShell pre-installed and ready to use: stscollective.com/products/orbic-rcl400-rayhunter-dagshell-hotspot
💰 Exclusive Reader Discount: Save up to 20% on STS Collective products including pre-flashed Orbic RCL400 devices — use code SIMEONONSECURITY at checkout or shop with the discount applied .
What Is DagShell?
Overview
DagShell is open-source custom firmware that replaces the stock Orbic RCL400 web interface with a comprehensive security toolkit featuring:
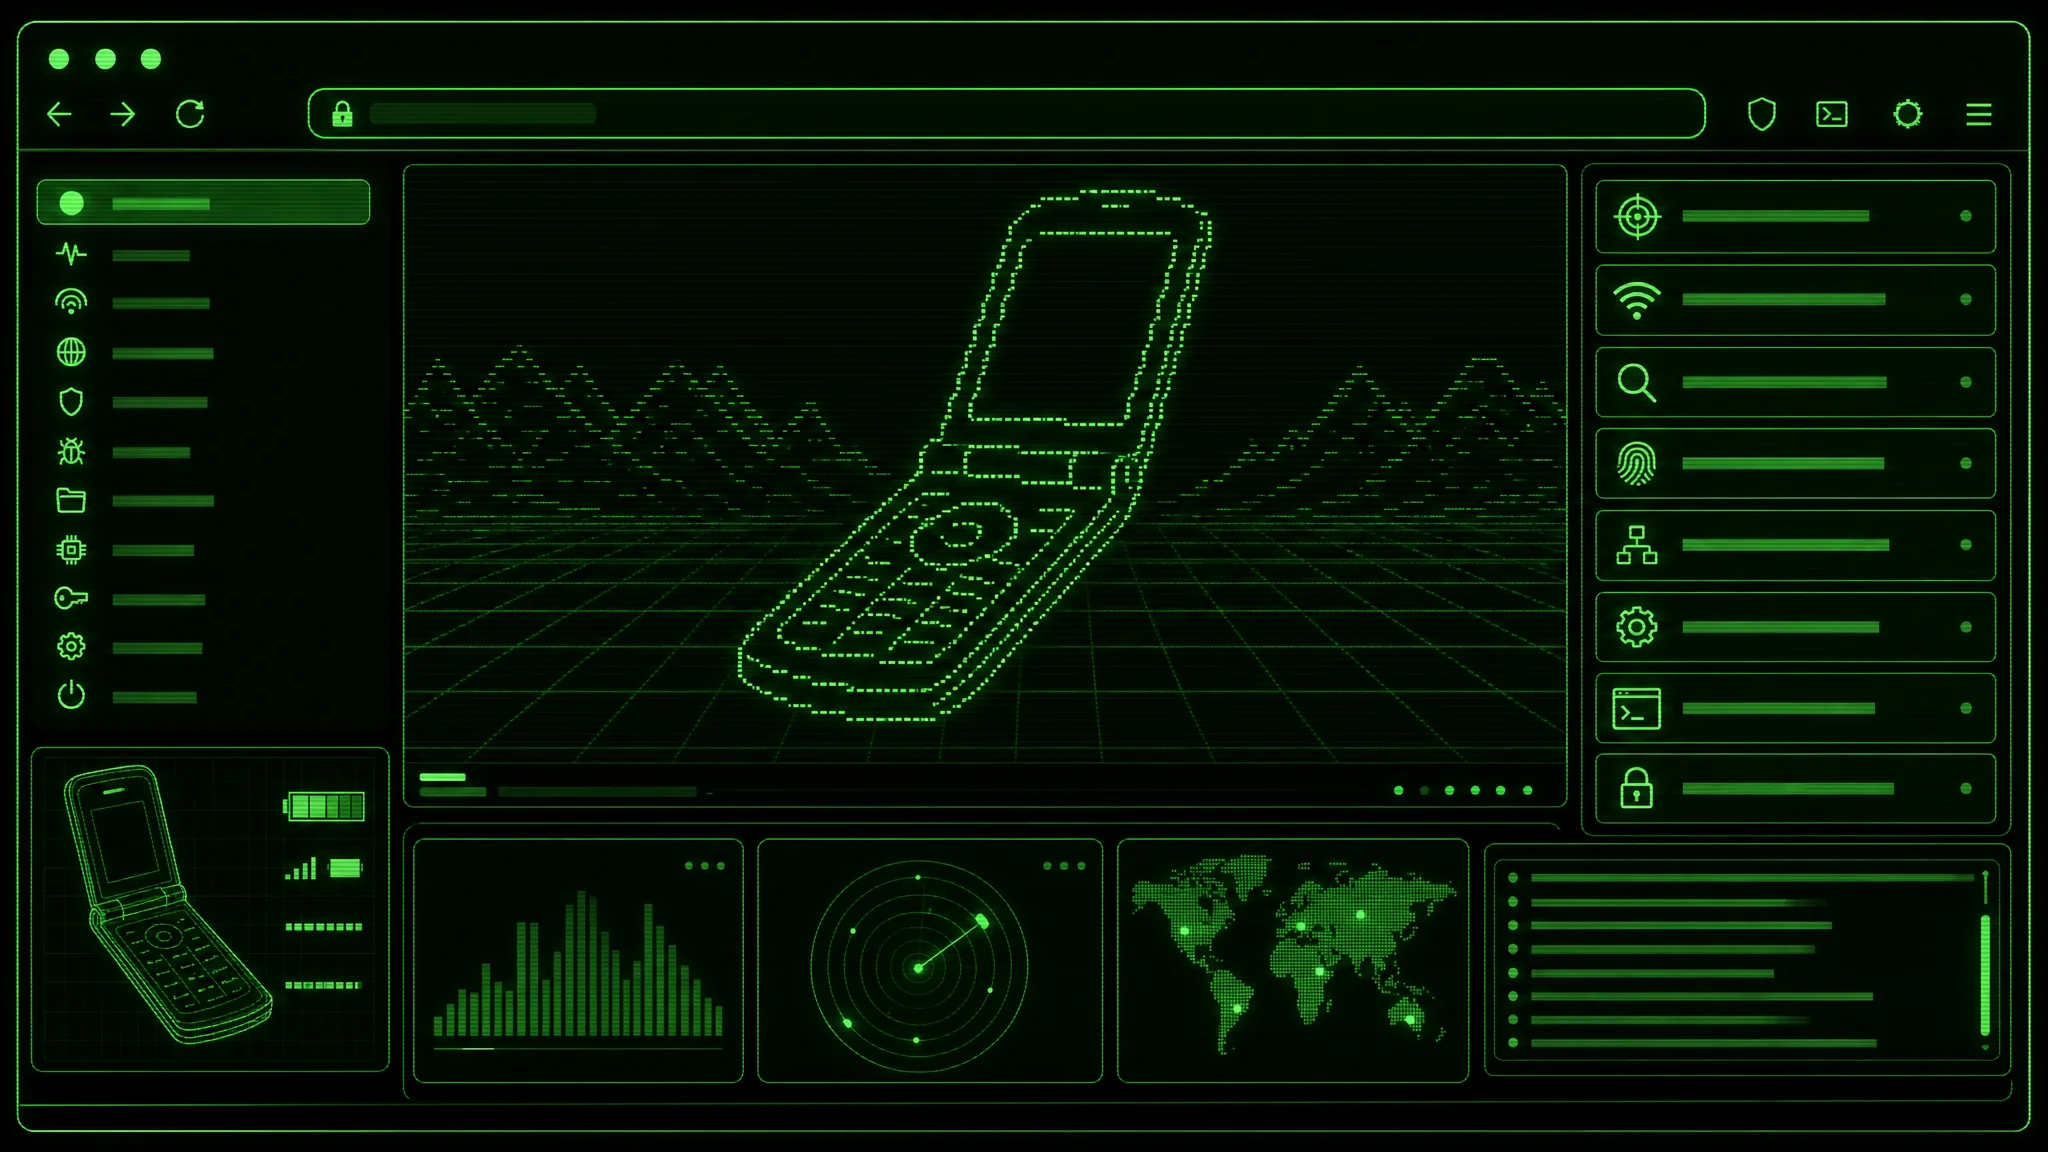
- Terminal-style interface with ASCII art and hacker aesthetics
- TLS 1.2+ encrypted web interface (self-signed certificate)
- Privacy protection tools (TTL masking, MAC spoofing, DNS-based ad blocking)
- Network monitoring (active connections, routing tables, DNS queries)
- Hacking tools (IMSI catcher detection, port scanning, ARP discovery)
- Attack capabilities (Evil Twin AP, captive portal phishing, deauth attacks)
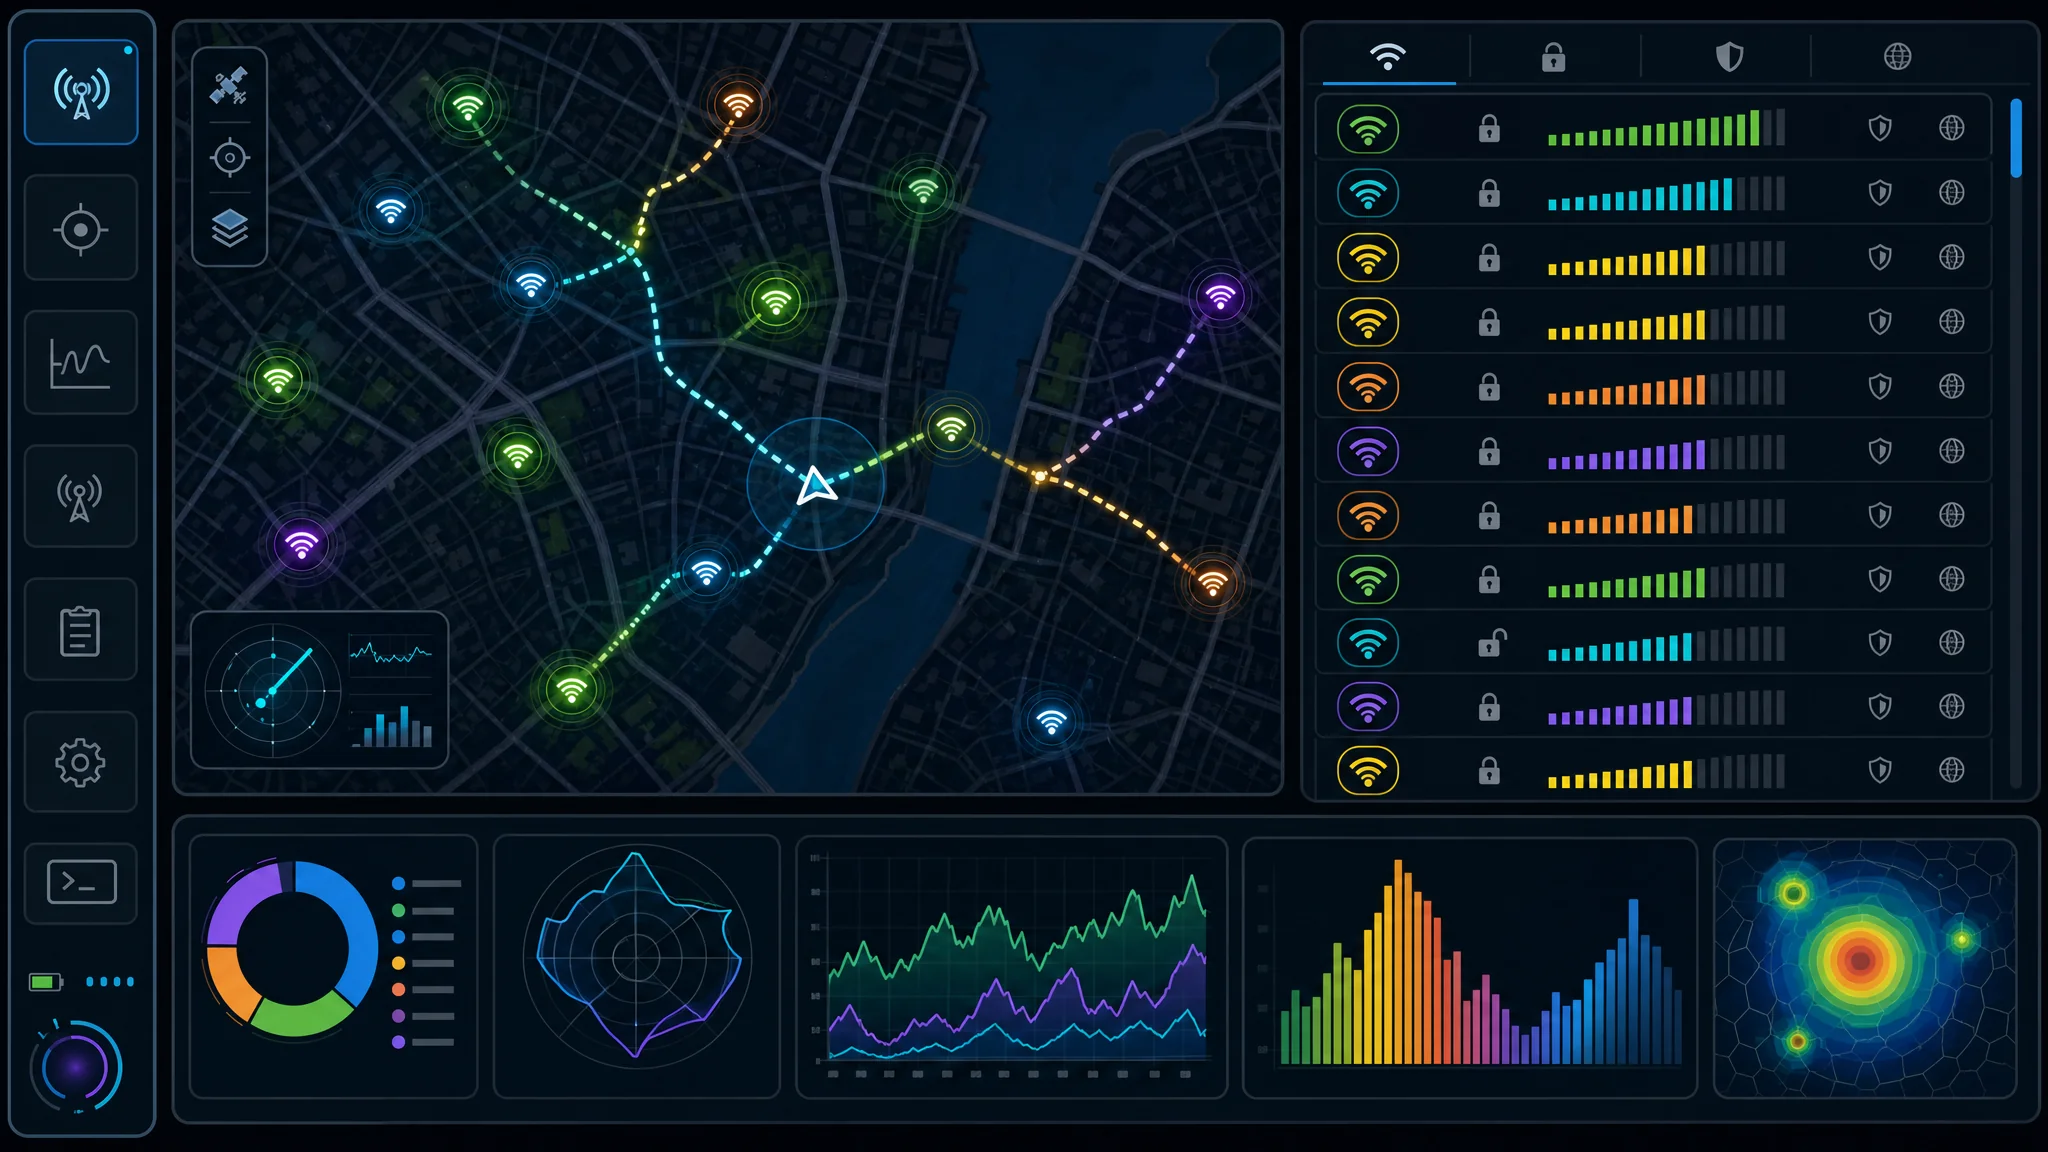
- GPS tracking and wardriving with Wigle-compatible CSV export
- Raspberry Pi companion for GPS, Bluetooth scanning, and WiFi reconnaissance
- File system access with browser-based file manager
- SMS functionality via AT commands
- Persistence - Auto-starts on boot
Technical Specifications
Platform: Orbic RCL400 mobile hotspot Architecture: ARM Linux (kernel 3.18) Language: C/C++ (static ARM binary) Encryption: TLS 1.2+ with self-signed certificates (2-tier PKI) Web Server: Custom embedded HTTPS server (port 8443) Interface: Browser-based terminal UI License: MIT (open-source) GitHub: github.com/dagnazty/DagShell
Visual Design
DagShell features a retro hacker aesthetic:
- ASCII art logo on every page
- Green-on-black color scheme (Matrix-style)
- Monospace font (Fira Code)
- Scanline effects and glowing text
- Terminal-inspired layout
Complete Feature Breakdown
🏠 Dashboard
System Overview:
- Uptime display - How long device has been running
- AT command interface - Direct modem control for advanced users
- Quick status - IP address, connection status
AT Commands enable low-level modem control:
Example AT Commands:
AT+CSQ       - Signal quality
AT+COPS?     - Current network operator
AT+CREG?     - Network registration status
AT+CIMI      - Get IMSI (subscriber identity)
AT+CGSN      - Get IMEI (device identifier)
🌐 Network Tools
Current Network Info:
- IP address and interface details
- Subnet mask, gateway, broadcast address
- Network statistics (packets sent/received)
Routing Table Viewer:
- See all network routes
- Default gateway information
- Interface mapping
Active Connections Monitor:
- Real-time list of all TCP/UDP connections
- Local and remote IP addresses
- Port numbers and connection states
- Useful for monitoring what the device is communicating with
🔒 Privacy Protection Suite
TTL Fix
Purpose: Mask hotspot traffic from carrier detection
How It Works:
- Modifies Time To Live (TTL) value in IP packets to 65
- Carriers detect tethering by TTL decrements (phone=64, tethered device=63)
- Setting TTL to 65 makes all traffic appear local
Use Case: Bypass carrier tethering restrictions/throttling
Commands:
# Enable TTL fix
iptables -t mangle -A POSTROUTING -j TTL --ttl-set 65

# Disable TTL fix
iptables -t mangle -D POSTROUTING -j TTL --ttl-set 65
MAC Address Spoofing
Purpose: Randomize device MAC address for privacy
How It Works:
- Changes MAC address of wlan0 (WiFi interface)
- Generates random MAC or allows custom input
- Makes device untraceable across sessions
Use Case: Prevent MAC-based tracking by networks you connect to
Process:
- Interface goes down
- New MAC address applied
- Interface comes back up
- Connection re-establishes
DNS-Based AdBlock
Purpose: Block ads and tracking at DNS level
How It Works:
- Modifies
/etc/hostsfile with blocklist - Domains on list resolve to 127.0.0.1 (localhost)
- Blocks ads for all connected devices
Use Case: Network-wide ad blocking without per-device configuration
Blocklist Source: Common ad/tracking domains (customizable)
📱 SMS Management
Send SMS:
- Send text messages via AT commands to modem
- Useful for remote notifications or testing
View Messages:
- Link to Orbic’s native inbox
- Read received SMS messages
AT Command Used:
AT+CMGS="PHONE_NUMBER"
Message text here^Z
🔧 Hacking Tools
IMSI Catcher Detector
Purpose: Monitor cell tower information for anomalies that indicate IMSI catcher/Stingray devices
How It Works:
- Queries modem for cell tower data:
- Cell ID (tower identifier)
- LAC (Location Area Code)
- MCC/MNC (Mobile Country/Network Code)
- Signal strength (RSSI)
- Network generation (2G/3G/4G)
- Logs changes to detect suspicious tower switches
- Baseline tracking - Establishes normal towers in area
Detection Indicators:
- Sudden cell tower switch while stationary
- Downgrade to 2G (IMSI catchers often force 2G to strip encryption)
- Unknown Cell ID appearing
- Weak signal from fake tower
- Frequent reconnections
Synergy with RayHunter: DagShell provides cell tower monitoring, RayHunter provides dedicated IMSI catcher detection with more sophisticated analysis (see section below)
Port Scanner
Purpose: Scan target IP addresses for open ports
How It Works:
- TCP SYN scanning - Sends SYN packets to target ports
- Timeout detection - Determines open/closed/filtered
- Range support - Scan single port or port ranges
Use Cases:
- Network reconnaissance
- IoT device discovery
- Security auditing of local networks
- Service identification
Command:
# Scan ports 1-1000 on target
nc -zv -w 2 TARGET_IP 1-1000 2>&1
Firewall Manager
Purpose: Block or unblock IP addresses using iptables
How It Works:
- iptables rules to DROP packets from/to specified IPs
- Persistent rules survive reboots (if saved)
- Whitelist/Blacklist functionality
Use Cases:
- Block malicious IPs
- Prevent unauthorized access
- Traffic shaping/filtering
- Parental controls
Commands:
# Block IP
iptables -I INPUT -s IP_ADDRESS -j DROP
iptables -I OUTPUT -d IP_ADDRESS -j DROP

# Unblock IP
iptables -D INPUT -s IP_ADDRESS -j DROP
iptables -D OUTPUT -d IP_ADDRESS -j DROP
⚔️ Attack Tools
IMPORTANT LEGAL DISCLAIMER: These tools are for authorized security testing ONLY. Using them against networks you don’t own or have explicit written permission to test is ILLEGAL in most jurisdictions (Computer Fraud and Abuse Act in US, Computer Misuse Act in UK, etc.). Only use on your own networks or in controlled lab environments.
DNS Sniffer
Purpose: Log DNS queries from connected clients
How It Works:
- iptables logging on port 53 (DNS)
- Does NOT require promiscuous mode
- Logs all DNS requests from hotspot clients
- Reveals what websites/services clients are accessing
Use Cases (Authorized):
- Network traffic analysis
- Parental monitoring (own family)
- Security research on own devices
- Malware behavior analysis
This captures metadata (domains visited) from connected clients — deploy only on networks you own or administer.
ARP Scanner
Purpose: Discover devices on local network
How It Works:
- Sends ARP requests to all IPs in subnet
- Devices respond with their MAC addresses
- OUI lookup identifies manufacturer (Apple, Samsung, etc.)
- Creates network map of active devices
Use Cases:
- Network inventory
- Unknown device detection
- BYOD network analysis
- IoT device discovery
Output Example:
IP: 192.168.1.50
MAC: A4:83:E7:XX:XX:XX
Vendor: Apple, Inc.

IP: 192.168.1.75
MAC: 2C:54:91:XX:XX:XX
Vendor: Samsung Electronics
Traceroute
Purpose: Visualize network path to destination
How It Works:
- Sends packets with incrementing TTL
- Each hop decrements TTL and returns ICMP Time Exceeded
- Reveals routers and path to destination
- Measures Round-Trip Time (RTT) per hop
Use Cases:
- Network troubleshooting
- Route analysis
- Latency diagnosis
- ISP peering investigation
Evil Twin AP
Purpose: Create fake WiFi access point cloning existing SSIDs
How It Works:
- Uses wlan1 (second WiFi interface if available via Pi companion)
- Clones SSID, encryption type of target network
- Captures clients attempting to connect
- Serves captive portal for credential harvesting
Attack Scenario (Lab Environment):
- Scan for legitimate WiFi networks
- Create fake AP with same SSID
- Use deauth attack to kick clients off real AP
- Clients auto-reconnect to fake AP
- Captive portal captures credentials
Detection: Clients see duplicate SSIDs if both APs are visible simultaneously.
Captive Portal
Purpose: Phishing page templates for credential harvesting
Templates Included:
- WiFi login page (generic ISP/hotel style)
- Social media logins (Facebook, Twitter, Instagram lookalikes)
- Corporate login portals
- Airport/Coffee shop WiFi gates
How It Works:
- Evil Twin AP redirects all traffic to portal
- Client sees login page
- Client enters credentials
- Credentials logged to file
- Client either granted internet or shown error
Educational Purpose: Demonstrates social engineering risks and why users should verify URLs
📍 GPS Tracker & Wardriving
GPS Functionality
GPS Source: Raspberry Pi companion ONLY
- The Orbic RCL400 has no built-in GPS — skipping the Pi companion means no location data
- Pi connects USB GPS dongle (U-Blox 7 chipset)
- Pi sends coordinates to Orbic via shared data files
- ECEF to Lat/Long conversion handled automatically
Dashboard Display:
- Latitude/Longitude in decimal degrees
- Altitude above sea level
- GPS fix status (accuracy)
- Auto-refresh every 5 seconds
- No browser geolocation prompts (doesn’t use browser API)
Shared GPS State:
- GPS data available to all DagShell processes
- Wardriving automatically uses GPS
- No conflicts between features
Wardriving Mode
Purpose: Scan WiFi networks with GPS coordinates for mapping
How It Works:
- Waits for valid GPS fix (no 0,0 coordinates logged)
- Scans WiFi networks every 5 seconds (continuous loop)
- Logs network data:
- SSID (network name)
- BSSID (MAC address)
- Encryption type (WPA2, WPA3, Open)
- Signal strength (RSSI in dBm)
- Channel number
- GPS coordinates (lat/long)
- Timestamp
- Exports to Wigle-compatible CSV format
Wigle Integration:
- WiGLE (wigle.net) is global WiFi mapping project
- DagShell CSV is directly uploadable to WiGLE
- Browser-based upload from Files page (no external tools needed)
- Contributes to public database of WiFi locations
Use Cases:
- WiFi coverage mapping
- Network surveying for ISPs
- Signal strength analysis
- Security research (open networks, weak encryption)
- Location-based analytics
CSV Format Example:
MAC,SSID,AuthMode,FirstSeen,Channel,RSSI,Latitude,Longitude,AltitudeMeters
A1:B2:C3:D4:E5:F6,HomeNetwork,WPA2,2026-05-28 10:30:15,6,-45,40.7128,-74.0060,10
🥧 Raspberry Pi Companion
The Raspberry Pi companion extends DagShell capabilities with external hardware:
Hardware Requirements
Minimum:
- Raspberry Pi 3B+ or newer (Pi Zero lacks USB power for peripherals)
- USB GPS dongle (U-Blox 7 chipset recommended)
- Power supply (Pi requires separate power — the Orbic USB port does not supply enough)
Optional:
- WiFi adapter (second interface for scanning while maintaining link)
- Bluetooth dongle (if Pi has weak internal BT)
GPS Module (U-Blox 7)
Connection: USB GPS dongle to Pi Protocol: NMEA sentences via serial Conversion: Pi converts ECEF to Lat/Long automatically Data sharing: Writes GPS coordinates to shared file on Orbic
Sentence Parsing:
$GPGGA,123519,4807.038,N,01131.000,E,1,08,0.9,545.4,M,46.9,M,,*47
       |       |          |           |  |  |   |
       Time    Latitude   Longitude   Fix Sats  Altitude
Bluetooth Scanning (BLE)
Purpose: Discover nearby Bluetooth devices
How It Works:
- Scans for BLE advertisements
- Captures MAC addresses
- OUI lookup for manufacturer identification
- Logs to CSV format
Remote Control:
- Start/Stop scanning from DagShell web UI
- No need to SSH into Pi
- Real-time status updates
Use Cases:
- Device tracking and counting
- Foot traffic analysis
- Bluetooth device discovery
- IoT security research
CSV Output:
Timestamp,MAC,RSSI,Name,Manufacturer
2026-05-28 10:30:15,AA:BB:CC:DD:EE:FF,-65,Fitbit Charge,Fitbit Inc.
WiFi Scanning
Purpose: Pi scans WiFi networks and sends data to Orbic
Advantage: Dedicated interface for scanning while Orbic maintains hotspot
How It Works:
- Pi uses second WiFi adapter or built-in WiFi (if not needed for connectivity)
- Scans all channels (1-14 on 2.4GHz, 36-165 on 5GHz if supported)
- Sends results to Orbic via shared storage
- DagShell logs to wardriver CSV
Coordination:
- Pi and Orbic synchronize on GPS timestamp
- Prevents duplicate entries
- Combines both scan sources in single log
Deauth Attacks
Purpose: Disconnect clients from WiFi networks (for lab testing)
How It Works:
- Sends 802.11 deauthentication frames
- Spoofs AP’s MAC address
- Client receives “disconnect” from AP
- Client drops connection and attempts reconnect
Control Methods:
- One-shot deauth: Single burst of frames
- Continuous deauth: Blocks reconnection (DoS)
- Remote control: Triggered from DagShell scan page
Use Cases (Authorized):
- Rogue device removal from own network
- Penetration testing with permission
- Evil Twin attacks in lab (force clients to fake AP)
⚠️ Legal Warning: Deauth attacks are illegal against networks you don’t own. FCC violations + potential CFAA charges.
Auto-Start Service
systemd Service: Pi companion auto-starts on boot
Service File (/etc/systemd/system/pi-companion.service):
[Unit]
Description=DagShell Pi Companion
After=network.target

[Service]
ExecStart=/usr/bin/python3 /opt/dagshell/pi_companion.py
Restart=always
User=root

[Install]
WantedBy=multi-user.target
Commands:
# Enable auto-start
sudo systemctl enable pi-companion

# Start service
sudo systemctl start pi-companion

# Check status
sudo systemctl status pi-companion
OUI Database
Purpose: Lookup MAC address vendor/manufacturer
Database: OUI Master Database prefix-based API
How It Works:
- Extracts first 3 bytes of MAC address (OUI prefix)
- Queries API:
api.example.com/oui/A4:83:E7 - Returns manufacturer name
Example:
MAC: A4:83:E7:12:34:56
OUI: A4:83:E7
Vendor: Apple, Inc.
Integration: Used by ARP scanner, BLE scanner, and WiFi wardriving
📁 File Explorer
Purpose: Browse and manage files on device
Location: /data/ directory (writable partition)
Capabilities:
- Browse files and subdirectories
- Download files to your computer
- Delete files (with confirmation)
- View file sizes and timestamps
Common Files:
wardrive_log.csv- WiFi scan databluetooth_scan.csv- BLE device datagps_track.gpx- GPS tracksdns_queries.log- Captured DNS requestsarp_scan.txt- Network device list
Wigle Upload:
- Direct browser upload from Files page
- Authenticates with WiGLE account
- Uploads CSV without downloading first

Installation Guide
Prerequisites
Hardware:
- Orbic RCL400 mobile hotspot
- Computer (Windows, macOS, or Linux)
- USB cable (if flashing firmware directly)
Software:
- Python 3 with
requestsandcryptographymodules - Web browser (Chrome, Firefox, Edge, Safari)
Optional:
- Raspberry Pi 3B+ or newer (for GPS and extended features)
- USB GPS dongle (U-Blox 7 chipset)
Method 1: Web Flasher (Recommended)
Easiest method - No command line required
Step 1: Visit DagShell Webflasher
Step 2: Generate PKI Certificates
- Click “Generate Certificates” button
- Browser generates 2-tier PKI (Root CA + Server certificate)
- Download files:
root.derandserver.der
Step 3: Enable Root Shell on Orbic
- Connect to Orbic WiFi network
- Enter admin password in web form
- Click “Enable Shell”
- Web page exploits Orbic API to open root shell on port 24
Step 4: Deploy Firmware
- Click “Deploy DagShell” button
- Script uploads:
orbic_app(main firmware binary)root.der(root certificate)server.der(TLS server certificate)dagshell_boot.sh(persistence script)
- Installation takes 2-3 minutes
Step 5: Reboot Orbic
- Power cycle the device
- DagShell auto-starts on boot
Step 6: Access DagShell
- Open browser to:
https://192.168.1.1:8443/ - Accept security warning (self-signed certificate - this is expected)
- Login with default credentials (if prompted)
Method 2: Manual Installation
For advanced users who want to build from source
Step 1: Install Dependencies
Windows:
# Install Python 3
# Download from python.org

# Install required modules
pip install requests cryptography

# ARM cross-compiler included in gcc_win/ folder
macOS:
# Install Homebrew if not already installed
/bin/bash -c "$(curl -fsSL https://raw.githubusercontent.com/Homebrew/install/HEAD/install.sh)"

# Install Python 3
brew install python3

# Install required modules
pip3 install requests cryptography

# ARM toolchain included in gcc_mac/ folder
Linux:
# Install Python 3 and pip
sudo apt-get update
sudo apt-get install python3 python3-pip

# Install required modules
pip3 install requests cryptography

# Install ARM cross-compiler
sudo apt-get install gcc-arm-linux-gnueabihf
Step 2: Clone Repository
git clone https://github.com/dagnazty/DagShell.git
cd DagShell
Step 3: Build Firmware
Windows:
cd orbic_fw_c
python gen_pki.py          # Generate certificates
.\build.ps1                # Compile firmware
macOS/Linux:
cd orbic_fw_c
python3 gen_pki.py         # Generate certificates
./build.sh                 # Compile firmware (auto-builds BearSSL)
Output: orbic_app (static ARM binary) + DER certificate files
⚠️ Note for macOS: The gcc_mac/ folder contains a custom ARM toolchain built with crosstool-ng targeting Linux kernel 3.2 headers for compatibility with Orbic’s kernel 3.18. Standard Homebrew ARM compilers target newer kernels and will not work.
Step 4: Enable Root Shell on Orbic
# Connect to Orbic WiFi
# Replace YOUR_ADMIN_PASSWORD with actual password

python enable_shell.py YOUR_ADMIN_PASSWORD
This exploits Orbic web API to open root shell on port 24.
Step 5: Deploy Firmware
python deploy_base64.py
This uploads and installs:
orbic_appto/data/orbic_app- Certificates to
/data/root.derand/data/server.der - Boot script to
/etc/rc.d/dagshell_boot.sh
Persistence: Firmware auto-starts on reboot via init script
Step 6: Reboot and Access
# Reboot Orbic (power cycle or via SSH)
reboot

# After reboot, access DagShell
# Browser: https://192.168.1.1:8443/
Security Certificate Warning
When accessing DagShell, you’ll see a “Not Secure” or “Not Trusted” warning:
Desktop Browsers:
- Click “Advanced”
- Click “Proceed to 192.168.1.1 (unsafe)”
Mobile Browsers:
- Tap “Show Details”
- Tap “visit this website”
Why This Happens:
- Certificate is self-signed (not from trusted CA like Let’s Encrypt)
- Your device doesn’t have the root certificate in its trust store
- This is expected behavior for custom firmware, not a sign of compromise
Is Connection Actually Secure?:
- YES - Connection IS encrypted with TLS 1.2+
- Data cannot be intercepted
- The certificate is simply not “chain-trusted” to a public CA — the encryption is real
Optional: Install root.der in your device’s trust store to eliminate warning
Raspberry Pi Companion Setup
Optional but highly recommended for full functionality
Hardware Setup
Step 1: Acquire Components
- Raspberry Pi 3B+ or newer ($35-55)
- USB GPS dongle with U-Blox 7 chipset ($15-30)
- MicroSD card 16GB+ for Pi OS ($10)
- Power supply for Pi ($10)
Step 2: Install Raspberry Pi OS
# Download Raspberry Pi Imager
# https://www.raspberrypi.org/software/

# Flash "Raspberry Pi OS Lite" to SD card
# Boot Pi and complete setup
Step 3: Connect GPS Dongle
- Plug USB GPS into Pi
- Check detection:
lsusb(should show GPS device) - Verify serial port:
ls /dev/ttyUSB*or/dev/ttyACM*
Software Installation
Step 1: Clone DagShell Repository on Pi
git clone https://github.com/dagnazty/DagShell.git
cd DagShell/pi_companion
Step 2: Install Dependencies
# Update package list
sudo apt-get update

# Install required packages
sudo apt-get install python3-serial python3-requests gpsd gpsd-clients

# Install Python modules
pip3 install pyserial gps3 bluetooth pybluez
Step 3: Configure GPS Daemon
# Edit gpsd config
sudo nano /etc/default/gpsd

# Set DEVICES line to your GPS serial port
DEVICES="/dev/ttyUSB0"  # Adjust if different

# Restart gpsd
sudo systemctl restart gpsd

# Test GPS
cgps -s  # Should show satellite data after ~30 seconds
Step 4: Configure Pi Companion
# Edit configuration file
nano pi_companion/config.py

# Set Orbic IP address
ORBIC_IP = "192.168.1.1"
ORBIC_PORT = "8443"

# Set GPS serial port
GPS_DEVICE = "/dev/ttyUSB0"

# Save and exit
Step 5: Install systemd Service
# Copy service file
sudo cp pi_companion.service /etc/systemd/system/

# Reload systemd
sudo systemctl daemon-reload

# Enable auto-start
sudo systemctl enable pi-companion

# Start service
sudo systemctl start pi-companion

# Check status
sudo systemctl status pi-companion
Step 6: Verify Communication
# Check logs
journalctl -u pi-companion -f

# Should see GPS coordinates being sent to Orbic
Network Setup
Option A: WiFi Connection
# Pi connects to Orbic hotspot
# Edit wpa_supplicant config
sudo nano /etc/wpa_supplicant/wpa_supplicant.conf

# Add network
network={
    ssid="Orbic_SSID"
    psk="PASSWORD"
}

# Restart WiFi
sudo systemctl restart networking
Option B: USB Ethernet (Recommended)
- Connect Pi to Orbic via USB cable (Pi USB port to Orbic USB port)
- Enable USB gadget mode on Pi
- Pi acts as USB Ethernet device
- More reliable than WiFi for continuous data transfer
- Pi accesses internet through Orbic
USB Gadget Config:
# Edit config.txt
sudo nano /boot/config.txt

# Add at end
dtoverlay=dwc2

# Edit cmdline.txt
sudo nano /boot/cmdline.txt

# Add after rootwait
modules-load=dwc2,g_ether

# Reboot
sudo reboot
Why Combine DagShell with RayHunter?
Complementary Capabilities
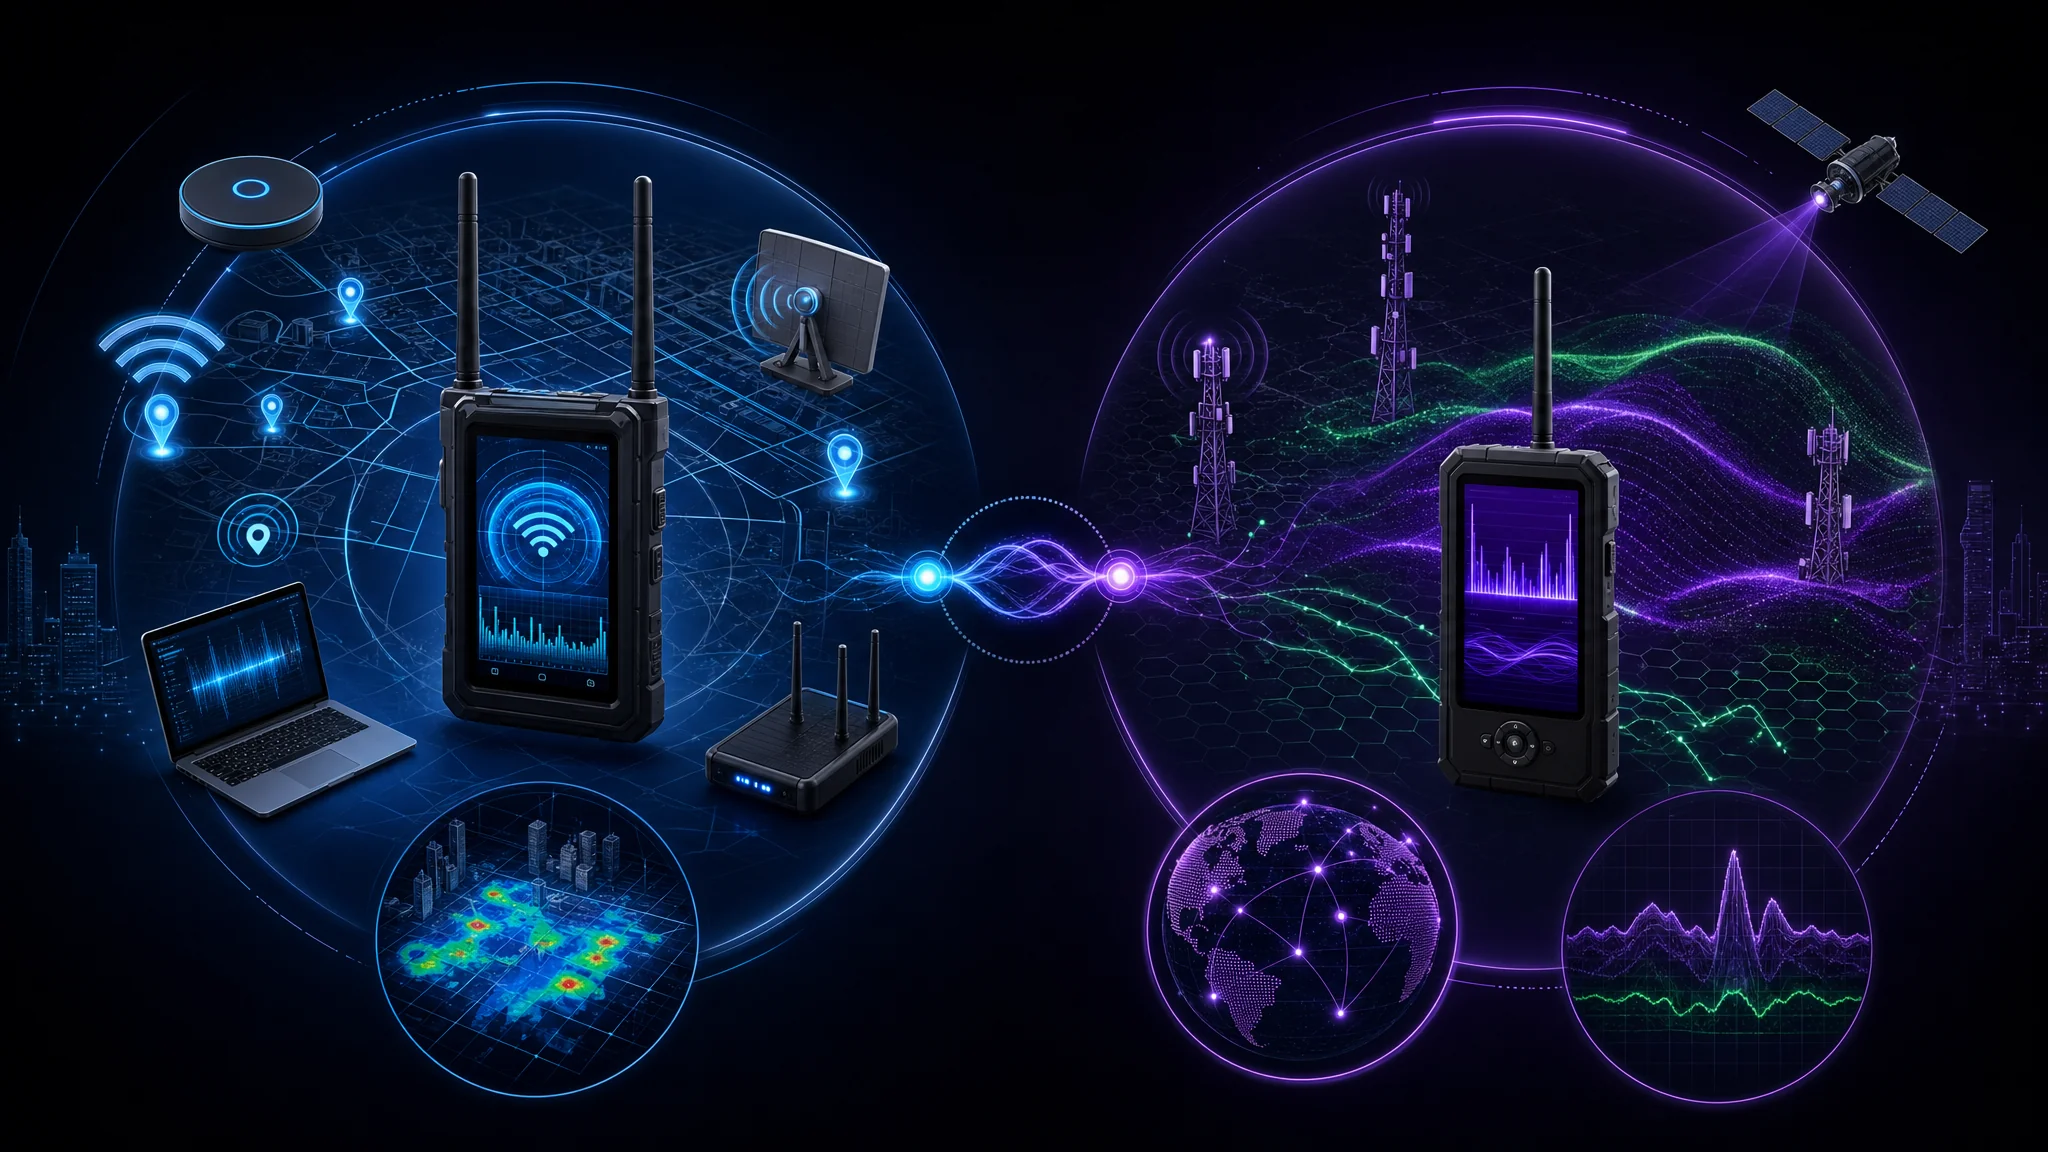
DagShell and RayHunter are highly complementary security tools that cover different aspects of mobile security research:
| Feature | DagShell | RayHunter |
|---|---|---|
| IMSI Catcher Detection | Basic cell tower monitoring | Advanced pattern analysis |
| GPS Tracking | Yes (via Pi) | Yes (via modem) |
| WiFi Wardriving | Yes | No |
| Bluetooth Scanning | Yes (via Pi) | No |
| Network Tools | Yes (DNS sniffer, ARP scan, port scan) | No |
| Attack Tools | Yes (Evil twin, captive portal, deauth) | No |
| Privacy Tools | Yes (TTL fix, MAC spoof, AdBlock) | Minimal |
| Cell Tower Database | Basic | Comprehensive |
| AI/ML Analysis | No | Yes (anomaly detection) |
| Carrier Protocol Analysis | Limited | Deep (SS7/Diameter) |
Synergistic Use Cases
1. Complete IMSI Catcher Defense
Scenario: Traveling in high-surveillance area
DagShell Contribution:
- Monitor cell tower changes in real-time
- Track GPS location during suspicious switches
- Log all tower data for later analysis
RayHunter Contribution:
- ML-based anomaly detection on cellular protocols
- SS7/Diameter packet inspection for sophisticated attacks
- Database of known good towers for comparison
Combined Power: DagShell provides continuous monitoring, RayHunter provides deep analysis
2. Wardriving with Security
Scenario: Mapping WiFi networks in urban area
DagShell Contribution:
- WiFi scanning with GPS coordinates
- Network analysis tools (signal strength, encryption)
- Wigle CSV export for mapping
RayHunter Contribution:
- Cell tower tracking during wardrive
- Detects IMSI catchers while you’re scanning WiFi
- Warns if cellular security compromised
Combined Power: Safe wardriving with cellular security awareness
3. Security Research Laboratory
Scenario: Red team / penetration testing
DagShell Contribution:
- Evil Twin AP for WiFi testing
- Captive portal for social engineering demos
- Deauth attacks for resilience testing
- Network reconnaissance tools
RayHunter Contribution:
- Detects if YOU are being monitored while testing
- Cell tower security awareness
- Prevents counter-surveillance during tests
Combined Power: Offensive tools with defensive awareness
4. Privacy-Focused Travel
Scenario: Journalist/activist in sensitive environment
DagShell Contribution:
- TTL masking to hide tethering
- MAC spoofing for anonymity
- AdBlock for tracking prevention
- IMSI catcher monitoring
RayHunter Contribution:
- Advanced IMSI catcher detection
- Protocol-level attack detection
- Cellular security alerts
Combined Power: Maximum privacy with multi-layer protection
Installation Together
Pre-Flashed Option (Easiest):
- Purchase from STS Collective: Pre-flashed Orbic RCL400 with RayHunter + DagShell
- Ready to use out of box
- Both firmware versions tested and verified
- No installation hassle
DIY Installation:
- Flash RayHunter first (see our How to Flash RayHunter Devices guide )
- Then flash DagShell (both can coexist)
- RayHunter runs on default ports
- DagShell runs on port 8443
- Access both via different browser tabs
No Conflicts:
- RayHunter uses port 80/443
- DagShell uses port 8443
- They don’t interfere with each other
- Run simultaneously
Skipping the DIY route? The pre-flashed Orbic RCL400 with RayHunter and DagShell ships ready to use, and reader code SIMEONONSECURITY takes up to 20% off at STS Collective.
Real-World Use Cases
Use Case 1: Security Researcher
Profile: Penetration tester doing WiFi security assessment
DagShell Tools Used:
- WiFi wardriving to map client networks
- ARP scanner to discover devices
- Port scanner to identify services
- Evil Twin / Captive Portal to test social engineering resilience
- File explorer to extract results
Workflow:
- Drive around client facility perimeter
- Wardrive to map WiFi coverage
- Create Evil Twin of client network (with permission)
- Monitor client connection attempts
- Generate report with collected data
RayHunter Integration: Ensures researcher isn’t being surveilled during assessment
Use Case 2: Privacy Advocate
Profile: Journalist traveling internationally
DagShell Tools Used:
- TTL fix to bypass carrier restrictions
- MAC spoofing for device anonymity
- IMSI catcher detector for surveillance awareness
- DNS sniffer to verify no device leaks
- AdBlock for tracking prevention
Workflow:
- Enable TTL fix before using device
- Randomize MAC address
- Monitor IMSI catcher detector continuously
- Use AdBlock for all connected devices
- Log suspicious cellular activity
RayHunter Integration: Advanced IMSI catcher detection beyond basic monitoring
Use Case 3: Network Administrator
Profile: IT admin managing multiple facilities
DagShell Tools Used:
- WiFi wardriving to verify coverage
- ARP scanner for device inventory
- Port scanner for security audits
- Active connections monitor for unauthorized traffic
- Firewall manager for IP blocking
Workflow:
- Wardrive facility to validate WiFi coverage
- ARP scan to discover all network devices
- Port scan servers for exposed services
- Block malicious IPs via firewall
- Export reports for documentation
RayHunter Integration: Cellular security monitoring for facilities with mobile devices
Use Case 4: IoT Security Researcher
Profile: Researcher analyzing IoT device security
DagShell Tools Used:
- ARP scanner with OUI lookup to identify IoT devices
- Port scanner to find open services
- DNS sniffer to capture IoT traffic patterns
- Bluetooth scanner (Pi) for BLE IoT devices
- Traceroute for connectivity analysis
Workflow:
- Deploy Orbic+Pi in test environment
- ARP scan to discover IoT devices
- Port scan for vulnerable services
- BLE scan for Bluetooth IoT devices
- DNS sniff to analyze “phone home” behavior
- Document vulnerabilities
RayHunter Integration: Detect if IoT devices have cellular connectivity and monitor for anomalies

Legal and Ethical Considerations
Legal Framework
Tools Like DagShell Exist in Legal Gray Areas:
Legal Uses: ✅ Your own networks - Test your own devices and networks ✅ Authorized testing - Penetration testing with written permission ✅ Educational purposes - Learning in isolated lab environments ✅ Privacy protection - TTL fix, MAC spoofing on your device ✅ Security research - Responsible disclosure vulnerability research
Illegal Uses: ❌ Unauthorized access - Attacking networks you don’t own (CFAA violation) ❌ Deauth attacks on other networks (FCC violation + possible felony) ❌ Evil Twin attacks against public (wire fraud, identity theft) ❌ DNS sniffing of others without consent (wiretapping) ❌ Bypassing security to commit fraud
Laws to Be Aware Of
United States:
- Computer Fraud and Abuse Act (CFAA) - Unauthorized access to computers/networks
- Wiretap Act - Intercepting electronic communications
- FCC Regulations - Radio frequency interference (deauth attacks)
United Kingdom:
- Computer Misuse Act 1990 - Similar to CFAA
- Regulation of Investigatory Powers Act (RIPA) - Interception restrictions
European Union:
- GDPR - Data protection (BLE/WiFi scanning of identifiable data)
- Local regulations vary by country and enforcement differs significantly
Ethical Guidelines
DO:
- ✅ Use on your own devices and networks
- ✅ Obtain written permission before testing others’ systems
- ✅ Responsible disclosure if you find vulnerabilities
- ✅ Educational use in controlled environments
- ✅ Privacy protection for yourself
DON’T:
- ❌ Attack networks you don’t own
- ❌ Harvest credentials from strangers
- ❌ Interfere with critical infrastructure
- ❌ Use tools maliciously
- ❌ Distribute captured data
Responsible Use Statement
DagShell is a security research and privacy tool. Its capabilities are similar to professional penetration testing tools like Kali Linux, WiFi Pineapple, or HackRF.
Intent Matters: The same tools used by malicious hackers are used by security professionals. The difference is:
- Authorization (permission to test)
- Intent (improve security vs. cause harm)
- Disclosure (report findings vs. exploit them)
Use DagShell responsibly and ethically. If you’re unsure whether something is legal, stop and consult a lawyer before proceeding.

Troubleshooting
Installation Issues
Problem: enable_shell.py fails to connect
Solutions:
- Verify you’re connected to Orbic WiFi
- Check IP address is 192.168.1.1 (default)
- Try admin password again (case-sensitive)
- Check if port 80 is accessible:
telnet 192.168.1.1 80
Problem: Firmware upload fails
Solutions:
- Ensure root shell enabled first (
enable_shell.pysucceeded) - Check network stability (use wired connection if possible)
- Try
deploy_net.pyinstead ofdeploy_base64.py - Verify
/datapartition has space:df -h /data
Problem: Certificate warning won’t go away
Solutions:
- This is normal for self-signed certificates — the connection is still encrypted
- Click “Advanced” -> “Proceed anyway” each time
- Optional: Install
root.derin device trust store (advanced)
Runtime Issues
Problem: DagShell not starting on boot
Solutions:
- Check boot script:
ls -la /etc/rc.d/dagshell_boot.sh - Verify executable:
chmod +x /etc/rc.d/dagshell_boot.sh - Check logs:
logread | grep dagshell - Manually start:
/data/orbic_app &
Problem: GPS not working
Solutions:
- Verify Pi companion is running:
systemctl status pi-companion - Check GPS has satellite lock:
cgps -s(on Pi) - Ensure GPS dongle connected:
lsusb - Wait 5-10 minutes for cold start GPS fix — GPS fix takes longer outdoors on first boot
Problem: Wardriving not logging
Solutions:
- Ensure GPS has fix before starting
- Check
/datahas write permissions - Verify CSV file being created:
ls -la /data/wardrive_log.csv - Check WiFi interface is up:
ifconfig wlan0
Problem: Pi companion not communicating with Orbic
Solutions:
- Verify network connectivity:
ping 192.168.1.1 - Check config file has correct IP
- Ensure port 8443 is open:
telnet 192.168.1.1 8443 - Check Pi companion logs:
journalctl -u pi-companion
Performance Issues
Problem: Web interface slow/laggy
Solutions:
- Clear browser cache
- Disable browser extensions (ad blockers interfere)
- Use wired connection to Orbic instead of WiFi
- Restart DagShell:
killall orbic_app && /data/orbic_app &
Problem: Wardriving scans take too long
Solutions:
- Increase scan interval in settings (trade frequency for performance)
- Reduce number of channels scanned
- Weak GPS fix slows scans — the system waits for valid coordinates before logging
Advanced Configuration
Customizing DagShell
Modifying Source Code:
- Edit files in
orbic_fw_c/directory - Rebuild with
build.shorbuild.ps1 - Redeploy firmware
Adding Custom Pages:
- DagShell uses embedded HTML in C++ code
- Edit
main.cppto add new routes - Recompile and deploy
Custom Certificate:
- Generate your own PKI with
gen_pki.py - Or use OpenSSL to create certificates
- Replace
root.derandserver.der
Integrating with Other Tools
Exporting Data to Wireshark:
# Capture pcap file
tcpdump -i wlan0 -w /data/capture.pcap

# Download via file browser
# Open in Wireshark on PC
Importing GPS Tracks to QGIS:
# Export GPX format
python gps_to_gpx.py /data/gps_coords.txt

# Import to QGIS as vector layer
Syncing with External Database:
# Custom script to upload wardrive data to MySQL
import mysql.connector
import csv

conn = mysql.connector.connect(
    host="your_server",
    user="username",
    password="password",
    database="wardriving"
)

with open('/data/wardrive_log.csv') as f:
    reader = csv.DictReader(f)
    for row in reader:
        cursor.execute("INSERT INTO networks (ssid, bssid, lat, lon) VALUES (%s, %s, %s, %s)",
                      (row['SSID'], row['MAC'], row['Latitude'], row['Longitude']))
conn.commit()
Performance Tuning
Optimizing Scan Speed:
# Edit wardrive scan interval
# In DagShell web UI, change from 5s to 3s for faster scanning
# Trade-off: Higher CPU usage, potential missed networks
Battery Optimization (if using battery pack):
# Reduce screen brightness on Orbic
# Disable unused features (BT, GPS when not needed)
# Use sleep mode between wardrive sessions
Comparison to Alternatives
DagShell vs. WiFi Pineapple
| Feature | DagShell (Orbic RCL400) | WiFi Pineapple |
|---|---|---|
| Price | $60-80 + device | $99-299 |
| Cellular | ✅ 4G LTE built-in | ❌ No (WiFi only) |
| GPS | ✅ Via Pi companion | ⚠️ Via USB dongle |
| Evil Twin | ✅ Yes | ✅ Yes |
| Captive Portal | ✅ Yes | ✅ Yes |
| Deauth | ✅ Yes (via Pi) | ✅ Yes |
| Wardriving | ✅ Yes | ✅ Yes |
| IMSI Detection | ✅ Basic | ❌ No |
| Portability | ✅ Highly portable | ⚠️ Moderate |
| Battery | ✅ Built-in | ⚠️ External required |
| Learning Curve | Moderate | Low (polished UI) |
Winner: DagShell for mobile cellular security, Pineapple for WiFi-specific testing with easy UI
DagShell vs. Kali Linux on Pi
| Feature | DagShell | Kali on Pi |
|---|---|---|
| Setup Time | 15 minutes | 2-3 hours |
| Cellular LTE | ✅ Built-in | ❌ Requires USB modem |
| Web Interface | ✅ Yes | ⚠️ Limited (requires VNC/SSH) |
| Tool Count | ~15 | 600+ |
| Specialization | Mobile security | General pentesting |
| Portability | ✅ Pocket-sized | ⚠️ Requires screen/power |
| Battery Life | 8-10 hours | 2-4 hours |
Winner: DagShell for mobile-specific tasks, Kali for comprehensive toolkit
DagShell vs. Stock Orbic Firmware
| Feature | DagShell | Stock Firmware |
|---|---|---|
| Security Tools | ✅ Extensive | ❌ None |
| Privacy Features | ✅ Yes | ❌ Minimal |
| Customization | ✅ Fully customizable | ❌ Locked |
| Wardriving | ✅ Yes | ❌ No |
| GPS | ✅ Yes (via Pi) | ❌ No |
| Open Source | ✅ Yes | ❌ Proprietary |
| Support | ⚠️ Community | ✅ Official |
| Stability | ⚠️ Beta | ✅ Production |
Winner: DagShell for researchers, Stock for casual users
Conclusion: The Ultimate Mobile Lab
DagShell transforms the humble Orbic RCL400 hotspot into a powerful mobile security laboratory combining:
✅ Privacy protection (TTL masking, MAC spoofing, AdBlock) ✅ Network monitoring (connections, DNS, routing) ✅ Hacking tools (IMSI detection, port scanning, ARP discovery) ✅ Attack capabilities (Evil Twin, captive portal, deauth) ✅ GPS wardriving with Wigle integration ✅ Raspberry Pi expansion (BLE, WiFi, GPS) ✅ Portable and battery-powered ✅ Open source and customizable
When Combined with RayHunter
RayHunter + DagShell = Complete mobile security platform:
- RayHunter provides advanced IMSI catcher detection
- DagShell provides offensive and privacy tools
- Both run simultaneously on same device
- Complementary capabilities with no overlap
- Single portable package for all mobile security needs
Get Started Today
Option 1: Pre-Flashed (Easiest)
- STS Collective: Orbic RCL400 with RayHunter + DagShell
- Arrive ready to use
- No installation hassle
- Professionally configured
Option 2: DIY Installation
- Follow this guide
- Free if you own Orbic RCL400
- Learn the installation process
- Customize to your needs
Related Reading
- How to Flash RayHunter Devices: Complete Guide - Install RayHunter first
- RayHunter Device Comparison: Complete Review - Choose your platform
- Flock-You Detection Project: Counter-Surveillance Hardware Guide - More detection tools
Final Thoughts
Whether you’re a security researcher, penetration tester, privacy advocate, or network administrator, DagShell provides a portable, powerful, and affordable platform for mobile security work.
Disclaimer: Use responsibly. Only test networks and devices you own or have explicit written permission to assess. Stay legal, stay ethical, and happy hacking! 🚀
References
- DagShell GitHub Repository
- DagShell Documentation
- STS Collective - Pre-Flashed Devices
- WiGLE - WiFi Mapping Project
- Computer Fraud and Abuse Act (CFAA)
- Raspberry Pi Official Documentation
- U-Blox GPS Module Documentation
- OUI Database - IEEE Standards
- iptables Tutorial
- OpenSSL Documentation

Disclosure and Affiliate Statement:
Affiliate Disclosure: We may earn a commission from links on this page. These commissions support our website and the content we provide. Rest assured, we only recommend products/services we believe in. Thank you for your trust! Click Here to Learn More
Related Posts