
Effortless Dual Mining Guide: WingBits and DeFli Setup
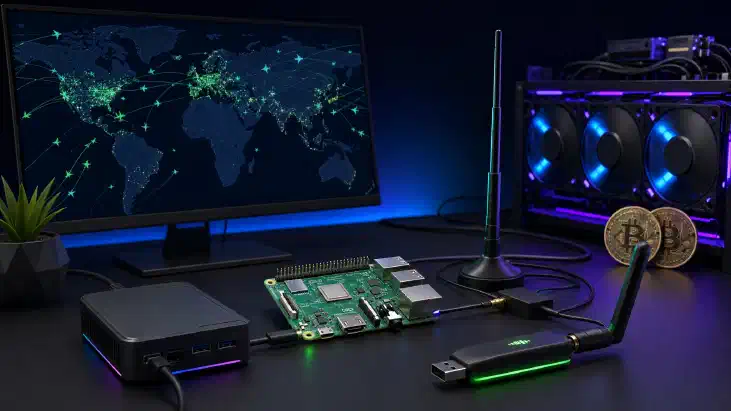
Table of Contents
Note: This article does not entail an endorsement of either wingbits or defli nor does it contain any financial advice. Please do your own research
Effortless Dual Mining: WingBits and DeFli Setup Guide
Are you looking to maximize your cryptocurrency mining efforts without a hassle? In this comprehensive guide, we’ll walk you through setting up dual mining with WingBits and DeFli .
Hardware Requirements and Recommendations for WingBits and DeFli:
Our Recommended WingBits and DeFli Hardware Configuration
Our Ideal Setup for WingBits Flight Tracking
For aviation enthusiasts or those keen on monitoring aircraft movements, we recommend an ideal setup that combines the versatility of the Raspberry Pi 4B Model B DIY Kit with specialized components for ADS-B reception. The Raspberry Pi DIY Kit is perfect for enthusiasts seeking a customizable computing solution. Paired with the AirNav Radarbox Flightstick and SIGNALPLUS 1090MHz ADS-B Antenna, this setup ensures optimal performance, features, and reliability for accurate and detailed flight tracking.
System Requirements for WingBits and DeFli:
One of the following is required. We basically just need any efficient and low powered computer we can get our hands on. Any Raspberry PI, Intel NUC, or similar will do. They don’t have to be all that powerful. However I will recommend you have at least 32g-64g of storage, 4g of ram, and at least 2 cpu threads. For this we will be targeting a budget of around $100-$200 for hardware but feel free to go higher if it suits your needs. Our power target is 25w or better on average.

Raspberry Pi Options:
Mini PC Options with Intel N5100 or Similar:
ADSB Specific Equipment:
ADSB Receivers
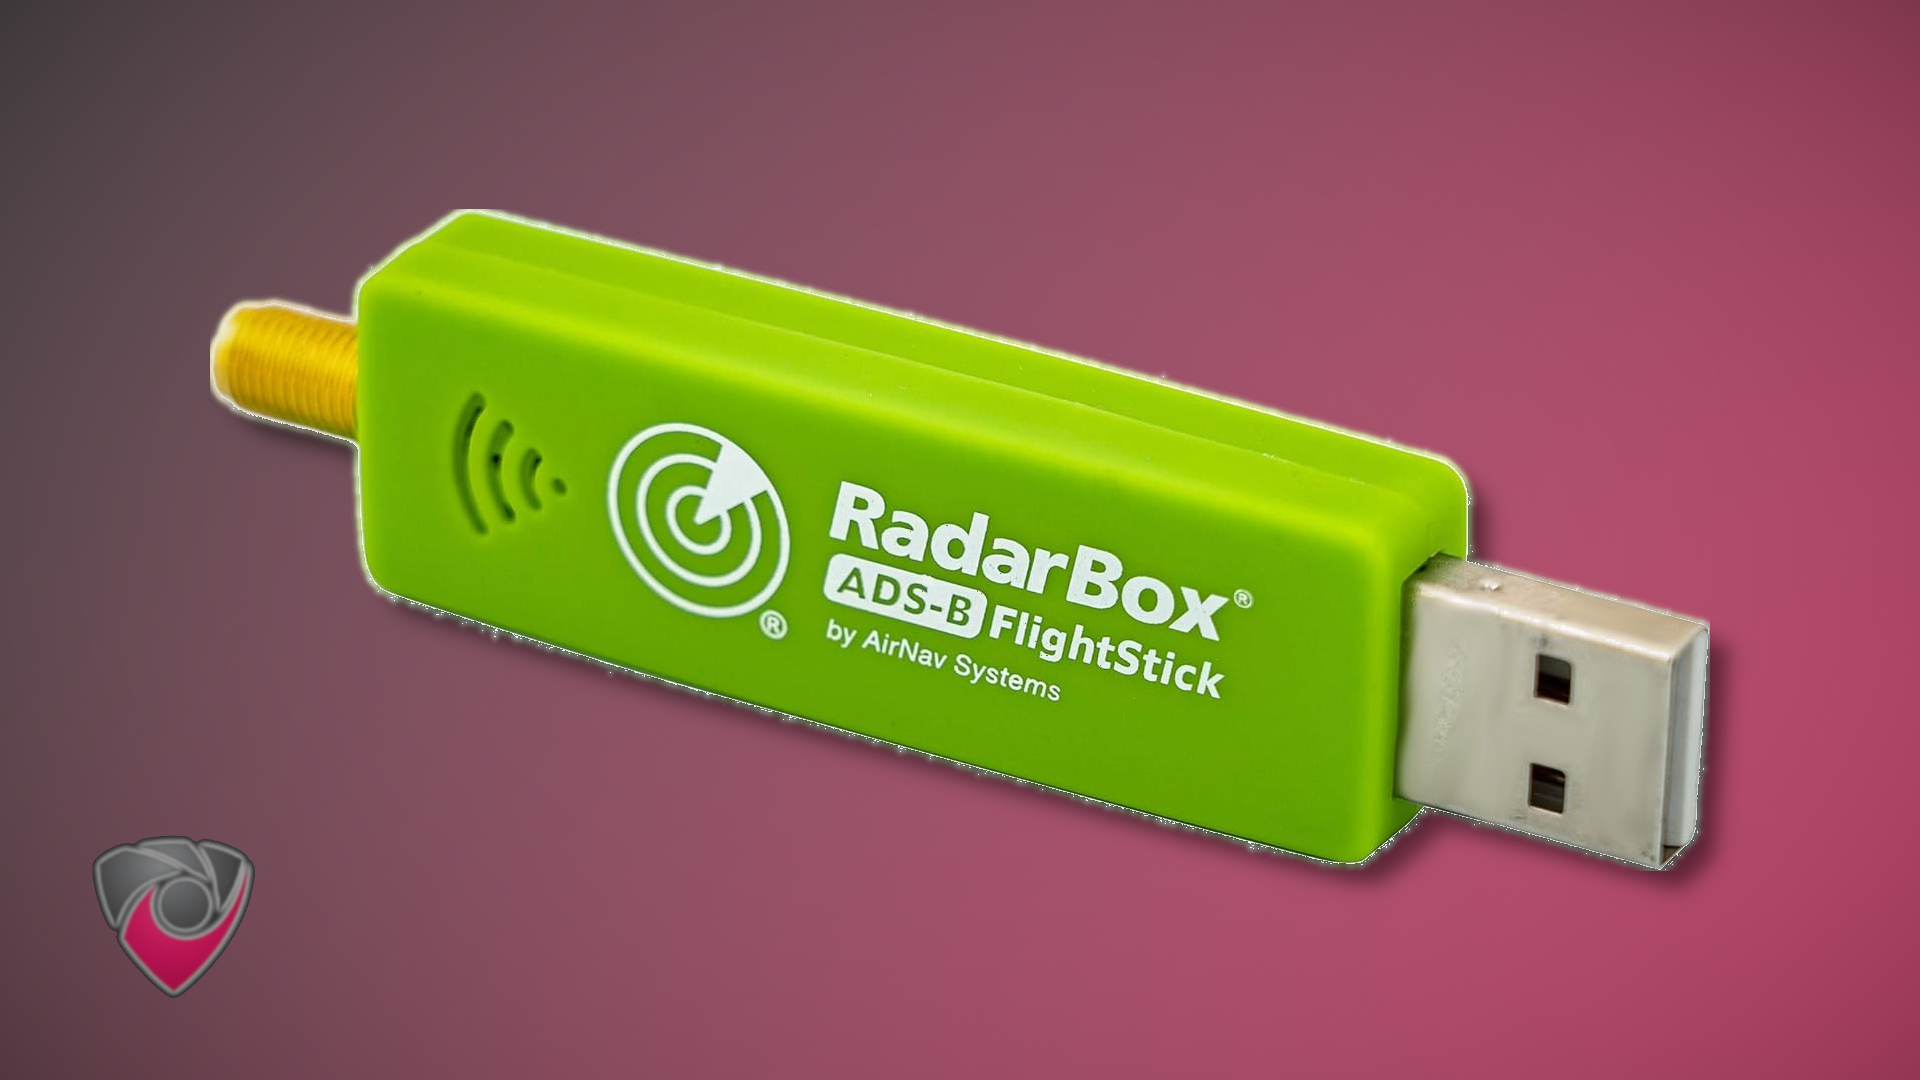
We went into this in detail on our Guide on Best ADSB Receiver for Wingbits .
ADS-B Antenna Options for WingBits and Defli:
Optional Extras
The ADSB receivers linked above have LNA and Filters built in. Only consider using a LNA or Filters if you have a non specific SDR
SAWbird+ ADS-B: Premium LNA & Filter Module
Band Pass and SAW Filters:
Low Noise Amplifiers:
SMA Pigtails:
OS Installation:
We won’t go into the technical details of how to install an operating system here. However here are some great resources to get you started.
Raspbian:
Ubuntu:
- Install Ubuntu desktop
- Ubuntu Server - Basic installation
- Ubuntu Complete Beginner’s Guide: Download & Installing Ubuntu
Setup Instructions
Functionally wingbits and defli both operate in the same space but how you connect to them is different.
readsb->vector->wingbits
readsb->mongodb connector->DEFLI
Section 1: Installing WingBits
Installing WingBits is the first step in your dual mining journey. To get started, follow these steps:
- Run the WingBits setup script by using the command:
curl -sL https://gitlab.com/wingbits/config/-/raw/master/download.sh | sudo bash
Note: Make sure you have your device ID, which you can find in your original WingBits email or on the dashboard once it goes public.
Section 2: Setting Up Your Location
Setting your mining location is crucial. Use tools like LatLong.net to find the coordinates for your installation site. Replace the example coordinates with your own:
sudo readsb-set-location 50.12344 10.23429
Section 3: Optimizing Gain Levels
Now, it’s time to optimize your receiver’s gain levels. Run the following command, if it fails, come back to this step after completing the instructions below.
sudo bash -c "$(curl -L -o - https://github.com/wiedehopf/adsb-scripts/raw/master/autogain-install.sh)" hash -r
sudo autogain1090
# Run ever 2 minutes, in the background, for an hour to optimize gain even further
sudo for i in {0..30}; do sudo autogain1090; sleep 120; done &
Section 4: DeFli Data Connector Setup
Setting up the DeFli Data Connector is a crucial part of the process. Follow these steps:
- Begin the DeFli Data Connector Setup
sudo apt install git python3 python3-pip -y
sudo git clone https://github.com/dbsoft42/adsb-data-collector-mongodb.git
sudo pip3 install aiohttp motor pymongo python-dateutil dnspython
cd adsb-data-collector-mongodb
cp config_template.py config.py
sudo nano config.py
If the pip installation fails, try the following
sudo apt update && sudo apt install -y python3-aiohttp python3-motor python3-pymongo python3-dateutil python3-dnspython
- Delete the file contents and instead paste the below text
Note: You must paste without formatting.
# Make a copy of this file as config.py and update the required values below.
# The MongoDB connection details and the dump1090 URL are the ones you really need to look at.
# The rest can be left at the defaults to start with.

import logging # Ignore this line

config = {} # Ignore this line

# MongoDB connection details (don't miss the username and password):
config['db'] = {
                'mongodb_conn_str':
		        'mongodb+srv://team:[email protected]/?retryWrites=true&w=majority',
                'database_name': 'defli1'
                } #Include username and password in mongodb_conn_str

# Dump1090 URL for the aircraft.json file
config['dump1090_url'] = 'http://localhost/tar1090/data/aircraft.json'

# Once a flight ID is received for the first time,
# status records already inserted to the DB can be updated with the flight ID.
# Records only up to these many seconds will be updated.
config['orphan_status_update_max_age'] = 600 # seconds

# The source (dump1090 JSON URL) will be checked every:
# This affects how often the script checks dump1090 for updated status
# Increasing this interval is a way to reduce amount of data going into the DB.
config['source_poll_interval'] = 1 # seconds

# The timeout for the HTTP request to get the JSON file from dump1090
# If a response if not received within this period, the request will be aborted.
# This will not fail the script and it will try the next request after the source_poll_interval.
# If your dump1090 is running locally, a short timeout is fine.
# If your source_poll_interval is short, better to keep the timeout short.
config['http_timeout'] = 3 # seconds

# A dictionary is used to maintain a local of copy of the ADS-B status messages
# so that new messages can be distinhuished from those already processed.
# A cleanup function periodically trims this dictionary to keep it from growing too much.
# The following 2 options control how often the cleanup runs
config['cleanup_run_interval'] = 3600 # seconds
# and how old the messages can be before they are removed.
config['messages_max_age'] = 1800 # seconds

# The following parameter determines how many days worth of "status" documents
# are kept in your status collection. As status documents form the majority of the data,
# adjusting this parameter would help you manage the size of your DB.
# If you are not concerned with the size of your DB growing, you may set this to a higher number.
config['max_status_age_days'] = 60 # days

# The following fields are excluded from the status documents.
# This is primarily done to prevent new status documents from being created
# when there is no change in the actual data but just change in the
# age or cumulative fields. Add or remove fields here as per your preferences.
config['excluded_fields'] = ['messages', 'seen', 'seen_pos',]

# The maximum number of consecutive errors that will be allowed for the
# HTTP fetch process that get the data from dump1090.
# The process will fail if consecutive errors exceed this threshold.
# A successful operation will reset the counter.
config['max_consecutive_http_errors'] = 10

# If the following is set to True, only a limited set of data will be kep in the
# status documents. This is to save space on MongoDB.
# Only the data points listed in limited_status_allowed_list will be saved.
config['limited_status'] = True
config['limited_status_allowed_list'] = ['position', 'alt_baro', 'gs', 'track', 'squawk', 'track_rate', 'roll_rate', 'baro_rate', 'mach', 'ias']

# Configure the following parameters for logging.
# The process can write to log files in the directory speified below.
# A new log file will be created at midnight every day and the old file will be
# renamed with the date. The maximum number of old files that will be kept can
# be specified below.
# The log levels are the standard Python logging module levels. To log only errors,
# set it to logging.ERROR (case sensitive).
config['logging'] =     {
                        # To enable, set to True (with capitlized T)
                        'enabled':              False,
                        # Directory/folder where log files will be created
                        'log_dir':              '/home/adsb/logs',
                        # Log file name
                        'log_file_name':        'adsb_data_collector_mongodb.log',
                        # Log level
                        'log_level':            logging.INFO,
                        # Log format
                        'log_format':           '%(asctime)s - %(levelname)s - %(message)s',
                        # Max number of old logs that will be kept
                        'log_file_hist_count':  7
                        }

# This set of parameters are to be used if you want to configure Pushover notifcations.
# If not , just leave 'enabled' as False.
config['pushover'] =    {
                        # To enable, set to True (with capitlized T)
                        'enabled':      False,
                        # Your Pushover user
                        'user':         'your Pushover user string',
                        # Your Pushover app token
                        'token':        'your Pushover app token',
                        # Log level
                        'log_level':    logging.CRITICAL,
                        # Log format
                        'log_format':   'ADS-B MongoDB feeder had an error\n%(message)s'
                        }
Section 5: Testing the ADSB Data Collector
To ensure everything is set up correctly, run the ADSB Data Collector with the following command:
python3 adsb-data-collector.py
Note: If installed correctly you should not get any output.
Section 6: Running on Boot
Make the ADSB Data Collector run on boot by creating a systemd service:
sudo nano /lib/systemd/system/adsb_collector.service
Copy and paste the the following service configuration into the file. Don’t forget to adjust the file path as needed.
[Unit]
Description=adsb_collector
After=multi-user.target
After=network.target
After=readsb.service
Wants=network.target
Requires=readsb.service

[Service]
Type=simple
ExecStart=/usr/bin/python3 /home/adsb-data-collector-mongodb/adsb-data-collector.py  # (NOTE you must edit this path to wherever you saved the file)
Restart=on-abort
RestartSec=5

[Install]
WantedBy=multi-user.target
Exit and Save the File with CTRL+X, Y, ENTER
Enable The adsb_collector Service
sudo systemctl enable adsb_collector
sudo systemctl start adsb_collector
Section 7: Verifying Services
After setting up all the components, verify that the services are running correctly:
- Verify all services are started and running correctly.
sudo systemctl status readsb vector adsb_collector
Conclusion
By following these steps, you’ll be well on your way to dual mining with WingBits and DeFli. Keep in mind that cryptocurrency mining can be resource-intensive, so it’s essential to have the necessary hardware and permissions. Also, remember that the crypto market is highly volatile, so invest wisely.
Additionally, if you made it this far, you’ll be interested in our article on Low Powered Crypto Miners
References
Here are some helpful links for reference:
Disclosure and Affiliate Statement:
Affiliate Disclosure: We may earn a commission from links on this page. These commissions support our website and the content we provide. Rest assured, we only recommend products/services we believe in. Thank you for your trust! Click Here to Learn More
Related Posts


This article refers to other articles we've written:
- Build a Profitable Passive Income Box with Low-Powered Hardware: A Guide
Learn how to set up a low-powered passive income crypto miner using a Raspberry Pi or Intel NUC, and earn $10-$20 per month per box with this guide