

Linux+ XK0-006 Security
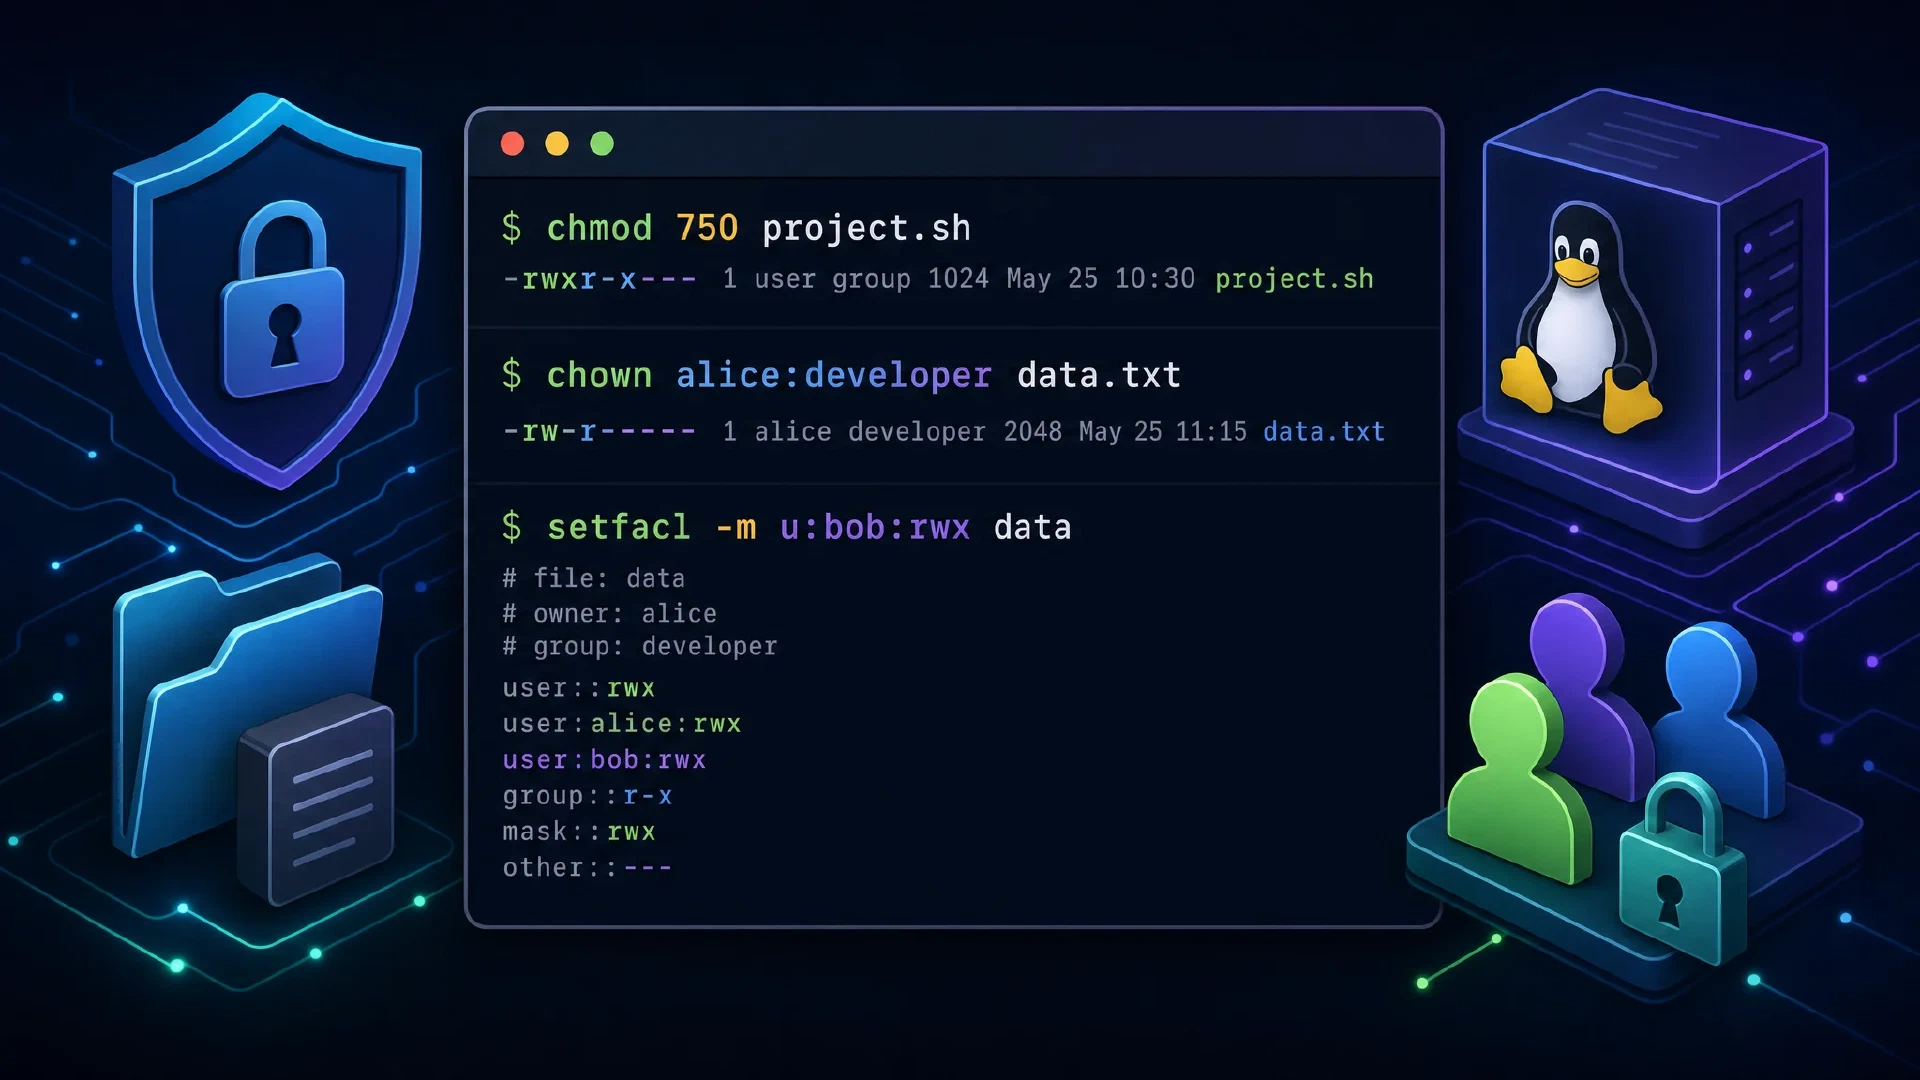
Table of Contents
Click Here to Return To the CompTIA Linux+ Course Page
Security makes up 18% of the CompTIA Linux+ (XK0-006) exam. This module teaches you how to lock down a Linux system through permissions, access control, authentication, mandatory access controls, firewalls, and auditing. The system management skills from the previous module make every step here faster.
File Permissions and Ownership
Every file has three permission sets, one each for the owner (u), group (g), and others (o). Each set holds read (r), write (w), and execute (x) bits.
ls -l report.txt
# -rw-r--r-- 1 alice staff 2048 Jan 1 10:00 report.txt
Read that output left to right: file type (-), owner rw-, group r--, others r--.
chmod sets permissions with octal or symbolic notation. Octal maps r=4, w=2, x=1:
chmod 750 script.sh     # owner rwx, group r-x, others none
chmod u+x script.sh     # add execute for the owner
chmod go-w shared.txt   # remove write from group and others
| Octal | Symbolic | Meaning |
|---|---|---|
| 7 | rwx | read, write, execute |
| 6 | rw- | read, write |
| 5 | r-x | read, execute |
| 4 | r– | read only |
chown sets owner and group, and chgrp sets only the group:
chown alice:developers project/    # owner alice, group developers
chown -R alice /srv/app            # recurse through a tree
chgrp staff report.txt
umask sets the default permissions stripped from new files. A umask of 022 gives new files 644 and new directories 755:
umask 027 # group loses write, others lose everything
Special Permissions: SUID, SGID, Sticky Bit
Three special bits change how files and directories behave.
- SUID on an executable runs it with the file owner’s privileges. The classic example is
/usr/bin/passwd, which needs root to edit/etc/shadow. - SGID on an executable runs it with the group’s privileges. On a directory, it forces new files to inherit the directory’s group.
- The sticky bit on a directory limits deletion or renaming to the file owner, directory owner, or root when the directory is writable.
/tmpuses this to restrict users from deleting each other’s files.
ls -l /usr/bin/passwd            # inspect a known SUID example
chmod g+s /srv/shared            # set SGID on a shared directory
chmod +t /srv/dropbox            # set the sticky bit
ls -ld /tmp
# drwxrwxrwt  ... the trailing 't' is the sticky bit
Do not add SUID to an arbitrary executable. First identify its owner and permissions, then compare the result with a trusted package or host baseline. An unexpected SUID root binary needs investigation.
Access Control Lists (ACLs)
Standard permissions handle one owner and one group. ACLs grant access to extra users or groups. Use setfacl to set and getfacl to view:
setfacl -m u:bob:rw report.txt       # give bob read and write
setfacl -m g:auditors:r logs/        # give a group read
getfacl report.txt
setfacl -d -m u:bob:rw project/      # default ACL applied to new files
setfacl -x u:bob report.txt          # remove bob's entry
A + at the end of ls -l permissions means an ACL is present.
sudo and /etc/sudoers
sudo grants specific users elevated rights without sharing the root password. Edit the policy with visudo, which checks syntax before saving:
sudo visudo
# Grant a user full admin rights
alice   ALL=(ALL:ALL) ALL

# Grant a group a single command without a password
%operators  ALL=(root) NOPASSWD: /usr/bin/systemctl restart nginx
Drop custom rules into /etc/sudoers.d/ instead of editing the main file. Grant the narrowest command set that does the job, since NOPASSWD on a broad command is an easy escalation path.
PAM and Password Policy
PAM (Pluggable Authentication Modules) controls how services authenticate. Configuration lives in /etc/pam.d/.
- pam_pwquality enforces password complexity (length, character classes)
- pam_faillock locks accounts after repeated failures
# /etc/security/pwquality.conf
minlen = 14
minclass = 3
Set aging policy in /etc/login.defs and per account with chage:
chage -M 90 -m 7 -W 14 alice   # max 90 days, min 7, warn 14
chage -l alice                 # show aging settings
SSH Hardening
Secure remote access starts in /etc/ssh/sshd_config:
PermitRootLogin no
PasswordAuthentication no
PubkeyAuthentication yes
AllowGroups sshusers
Ciphers [email protected],[email protected]
Generate a key pair and install the public key:
ssh-keygen -t ed25519 -C "alice@workstation"
ssh-copy-id alice@server          # appends to ~/.ssh/authorized_keys
sudo systemctl restart sshd
Keep an active SSH session open while you change sshd_config, so a mistake does not lock you out.
SELinux and AppArmor
These are mandatory access control systems that confine processes beyond standard permissions.
SELinux (Red Hat family) labels files and processes with contexts and enforces policy. The last two commands below change policy and belong only in a disposable lab after you confirm the service needs the access:
getenforce                 # Enforcing, Permissive, or Disabled
ls -Z /var/www/html        # show file contexts
sudo restorecon -Rv /var/www/html   # reset contexts to policy
sudo semanage port -a -t http_port_t -p tcp 8080
sudo setsebool -P httpd_can_network_connect on
When a service fails under SELinux, leave enforcement enabled while you inspect the denial. Check the path label, process domain, expected policy, and service configuration. Restore a known-good file context when the label is wrong. A temporary permissive test belongs only in an isolated lab with a rollback plan. Do not disable enforcement as a routine fix.
sudo ausearch -m avc -ts recent # inspect the denial and its timestamp
If the service needs new policy, review the minimal proposed rule with the security owner and test it in a disposable environment before loading a module. A generated audit2allow rule grants access and should never be loaded without review.
AppArmor (Debian/Ubuntu) uses path-based profiles:
sudo aa-status
sudo aa-enforce /etc/apparmor.d/usr.sbin.nginx
sudo aa-complain /etc/apparmor.d/usr.sbin.nginx   # log only, do not block
Restore the enforcing state after any approved, temporary permissive test. Record the original state and the test result.
Host Firewalls
Control traffic at the host with one of three tools.
firewalld uses zones and services:
sudo firewall-cmd --get-active-zones
sudo firewall-cmd --permanent --add-service=https
sudo firewall-cmd --permanent --add-port=8080/tcp
sudo firewall-cmd --reload
nftables is the modern packet filter:
sudo nft list ruleset
sudo nft add rule inet filter input tcp dport 22 accept
iptables remains common on older systems:
sudo iptables -A INPUT -p tcp --dport 22 -j ACCEPT
sudo iptables -L -n -v
Logging and Auditing
Centralize and review logs to catch attacks.
journalctl -p err -b               # errors since boot
journalctl -u sshd --since today   # one service
rsyslog writes to /var/log/, and auditd records security events for compliance:
sudo auditctl -w /etc/passwd -p wa -k passwd_changes   # watch a file
sudo ausearch -k passwd_changes                        # search by key
sudo aureport --summary
Finding Risky Files
Audit for the file conditions attackers abuse:
find / -perm -4000 -type f 2>/dev/null     # SUID binaries
find / -perm -2000 -type f 2>/dev/null     # SGID binaries
find / -perm -0002 -type f 2>/dev/null     # world-writable files
Compare the SUID list against a known-good baseline, since a new SUID root binary is a strong sign of compromise.
Encryption: OpenSSL and gpg
Generate a private key, a certificate signing request, and a self-signed certificate with OpenSSL:
openssl genrsa -out server.key 4096
openssl req -new -key server.key -out server.csr
openssl x509 -req -days 365 -in server.csr -signkey server.key -out server.crt
Encrypt files and verify package signatures with gpg:
gpg -c secret.txt                 # symmetric encryption with a passphrase
gpg -e -r [email protected] doc   # asymmetric, for a recipient
gpg -d secret.txt.gpg             # decrypt
gpg --verify package.sig package  # confirm a signature
Next Steps
With systems hardened, automate these controls in Scripting, Containers, and Automation , and revisit the administration tasks in Linux System Management . When a security anomaly appears, Linux Troubleshooting shows you how to investigate.
Return to the CompTIA Linux+ Course and test yourself with the CompTIA Linux+ Practice Test .